How to Install Shingles on a Roof: A Homeowner’s Step-by-Step Guide
How to Install Shingles on a Roof: A Homeowner’s Step-by-Step Guide explains the key steps, tools, safety concerns, and common mistakes involved in asphalt shingle installation.
How to Install Shingles on a Roof: A Homeowner’s Step-by-Step Guide is useful if you want to understand the process before starting a project or hiring a roofing contractor.
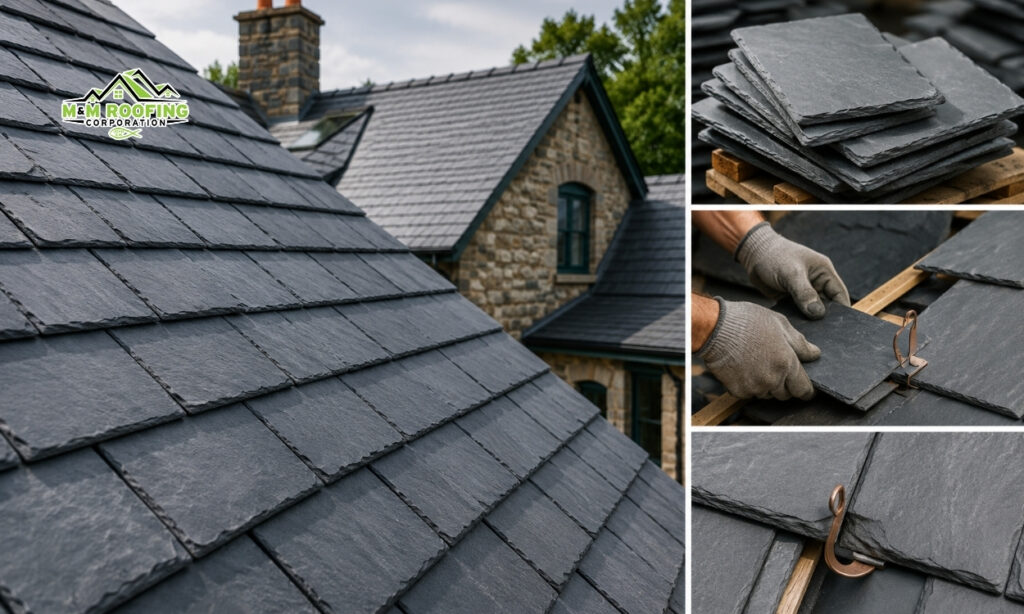
Installing shingles may look simple from the ground, but a proper roof system depends on much more than lining up rows of asphalt. From roof deck preparation to underlayment, starter strips, nail placement, flashing, ventilation, and ridge caps, every layer helps protect your home from rain, wind, ice, and long-term moisture damage.
This roof shingling guide explains how to install roof shingles in a clear, practical way, while also helping homeowners understand when DIY roof replacement may be too risky. If your roof is steep, damaged, leaking, or located in a storm-prone part of New Jersey, professional installation is usually the safer choice.
Before You Install Shingles, Inspect the Roof Carefully
Before you install shingles, the roof deck must be clean, dry, flat, and structurally sound. Shingles should never be installed over soft plywood, rotten decking, active leaks, or damaged framing. These problems can shorten the life of the new roof and may cause the shingles to fail early.
Remove loose debris, check for sagging areas, inspect the fascia and drip edge, and look for signs of water intrusion in the attic. If your current roof has major damage or you are unsure what you are looking at, it is better to schedule a professional inspection before moving forward.
For homeowners who want the job handled safely from the beginning, M&M Roofing Corp provides professional residential roof installation in New Jersey with proper preparation, installation, and cleanup.
Roofing Tools Needed for Shingle Installation
Having the right roofing tools needed before you start will make the work safer and more accurate. Basic tools and materials usually include:
- Asphalt shingles
- Starter shingles
- Roofing underlayment
- Drip edge
- Roofing nails
- Hammer or roofing nailer
- Utility knife with hook blades
- Chalk line
- Tape measure
- Ladder and roof safety equipment
- Flashing materials
- Ridge cap shingles
- Roofing sealant where appropriate
Safety equipment is not optional. Falls are one of the biggest risks in roofing. A stable ladder, harness system, non-slip footwear, gloves, and eye protection should be used whenever working on a roof.
Can You Put New Shingles Over Old Ones?
A common question is: can you put new shingles over old ones? In some cases, local codes may allow one additional layer of asphalt shingles if the existing roof is flat, dry, and in good condition. However, this is not always recommended.
Installing new shingles over old ones can hide damaged decking, add extra weight, reduce the lifespan of the new roof, and make it harder to install flashing correctly. In New Jersey, where roofs face snow, rain, wind, and freeze-thaw cycles, a full tear-off is often the better long-term option.
Step-by-Step Roof Shingle Installation
1. Remove Old Roofing Materials
For a proper asphalt shingle installation, start by removing the old shingles, nails, underlayment, and damaged flashing. Work from the top down and keep the area below clear. Once the old materials are removed, inspect the roof deck carefully.
Any damaged plywood or sheathing should be replaced before installing roof underlayment. Skipping this step can trap problems underneath the new roof.
2. Install Drip Edge and Roofing Underlayment
Installing roof underlayment creates a protective barrier between the shingles and the roof deck. Begin by installing drip edge along the eaves. Then roll out the underlayment horizontally, overlapping each row according to the manufacturer’s instructions.
In colder or wetter climates, an ice and water shield is commonly installed near eaves, valleys, and other vulnerable areas. This helps protect against wind-driven rain and ice dams.
3. Learn How to Lay Starter Shingles
Knowing how to lay starter shingles is important because this first course helps prevent water from entering beneath the first visible row of shingles. Starter shingles are installed along the eaves and sometimes the rake edges.
They should overhang slightly past the drip edge, but not too far. A chalk line helps keep this row straight. If the starter row is crooked, every row above it may follow the same mistake.
4. Install the First Rows of Asphalt Shingles
Begin the first full row directly over the starter strip. Follow the manufacturer’s recommended layout pattern and offset each row so the seams do not line up vertically. This staggered pattern improves water shedding and gives the roof a cleaner appearance.
For anyone researching how to install asphalt shingles for beginners, this is where patience matters most. Rushing the first few rows can create alignment problems that become more obvious as you move up the roof.
If you prefer a roof installed with correct layout, ventilation checks, and manufacturer-based practices, you can work with M&M Roofing Corp’s licensed roof installation team for a cleaner, safer result.
5. Nail the Shingles Correctly
Learning how to properly nail roof shingles is one of the most important parts of roofing shingles installation. Nails should be placed in the manufacturer’s designated nailing zone, usually just below the seal strip.
Nails must sit flush with the shingle surface. If they are driven too deep, they can tear through the shingle. If they are left raised, the next shingle may not seal properly. Most asphalt shingles require four nails per shingle, although high-wind areas may require six.
6. Work Around Valleys, Vents, and Flashing
Roof valleys, vents, chimneys, skylights, and wall intersections need careful flashing. These are the areas where many roof leaks begin. Shingles must be cut cleanly, layered correctly, and integrated with metal flashing so water flows away from openings.
This part is often where DIY roof replacement becomes difficult. A roof can look finished from the street but still fail at a poorly flashed valley or vent pipe.
7. Install Ridge Cap Shingles
Once both sides of the roof are shingled, install ridge cap shingles along the peak. These pieces protect the roof ridge and help finish the roof visually. They should be installed in the correct direction, usually away from prevailing winds, and nailed according to the manufacturer’s instructions.
If your roof has ridge ventilation, make sure it is not blocked. Proper attic ventilation helps control heat, moisture, and shingle wear.
How to Install Shingles on a Shed Roof
Learning how to install shingles on a shed roof is similar to installing shingles on a house, but the project is usually smaller and easier to manage. You still need a solid deck, drip edge, underlayment, starter shingles, correct nail placement, and ridge protection.
A shed roof can be a reasonable practice project for a confident DIY homeowner. A full home roof, especially one with multiple slopes, valleys, chimneys, or steep sections, is a very different level of work.
When DIY Roof Replacement Is Not Worth the Risk
DIY roof replacement may seem like a way to save money, but mistakes can lead to leaks, voided material warranties, poor wind resistance, and costly repairs later. Roofing also requires safe working conditions, proper disposal, and knowledge of local building expectations.
If your roof is old, leaking, storm-damaged, or more complex than a simple shed roof, it is worth getting a professional opinion. M&M Roofing Corp can inspect your roof and help you decide whether repair or full replacement makes more sense. To move forward confidently, request a residential roofing estimate from M&M Roofing Corp.
Final Thoughts on Installing Roof Shingles
Understanding how to install roof shingles helps you ask better questions, spot poor workmanship, and make smarter decisions about your home. The basic process is straightforward: prepare the roof deck, install underlayment, lay starter shingles, place asphalt shingles in a staggered pattern, nail them correctly, flash vulnerable areas, and finish with ridge caps.
Still, your roof is one of your home’s most important protective systems. If you want the work done safely, cleanly, and with long-term performance in mind, contact M&M Roofing Corp for professional roof installation support in Scotch Plains and nearby New Jersey communities.
Need help with your roof?
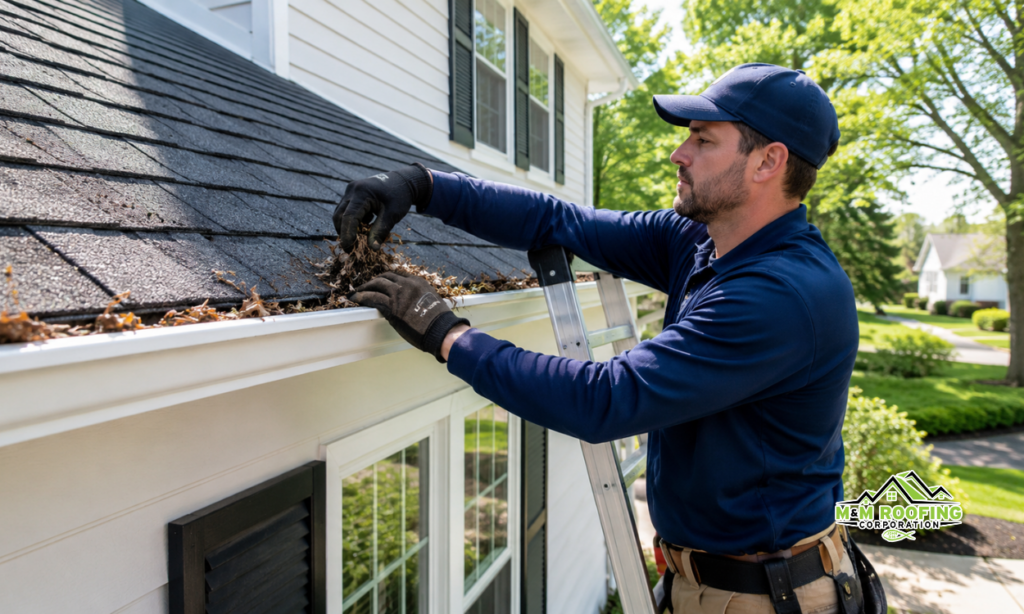
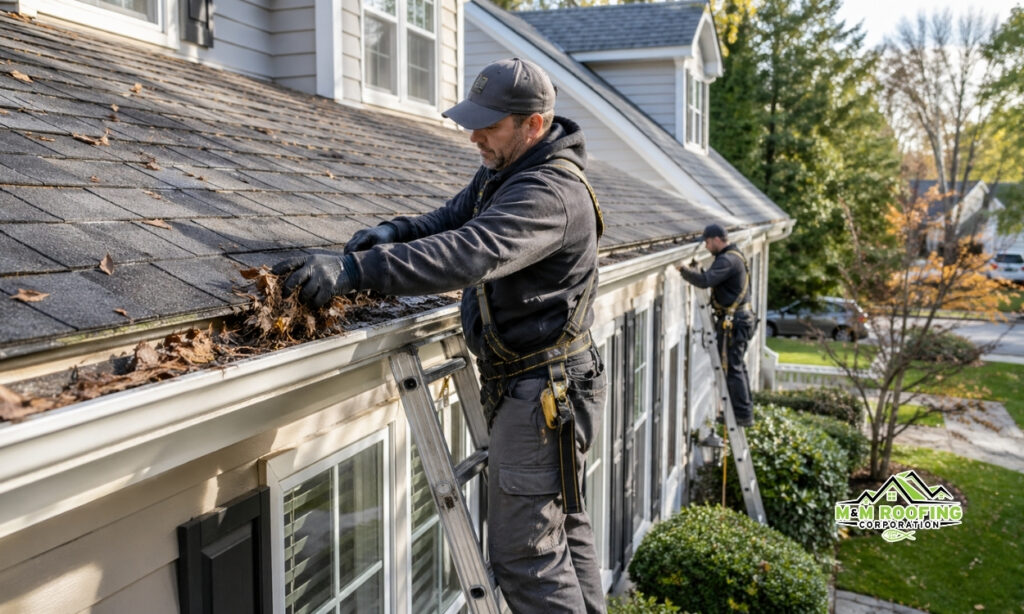
Reading a guide is helpful, but every home is different. Contact M&M Roofing Corp for roofing, gutters, siding or exterior service in New Jersey.